19 Oct 2025 - 2 hours
It's been a long time off the project, a little because we went out of town, partly because I didn't have a solid block of time to work, and partly because I was dragging my feet on jumping in to the rib riveting.I took my time with this first rib and used 24.2 grams of sealant (22 g + 2.2 g). I had a little bit left over but not much waste to speak of. I started with the inboard most interior rib on the left tank, which is not what the directions say to start with, but it is what the video Van's put out says to start with. This gives good access to the shop heads because the rest of the ribs aren't in the way to block bucking bar access.
I misplaced the rib when I was sliding it into place so there's a bit of sealant outside where it needs to be, but overall I think I did alright. I just had the skin in the cradle but didn't have any other ribs clecoed in. I used the regular mushroom set and a tungsten bucking bar. The sealant is a bit slippery but I scooped out the excess sealant from the dimples with the edge of a piece of paper before I put the rivets in the holes.
Here is the rib with the rivets all set and the sealant cleaned up and smoothed out:
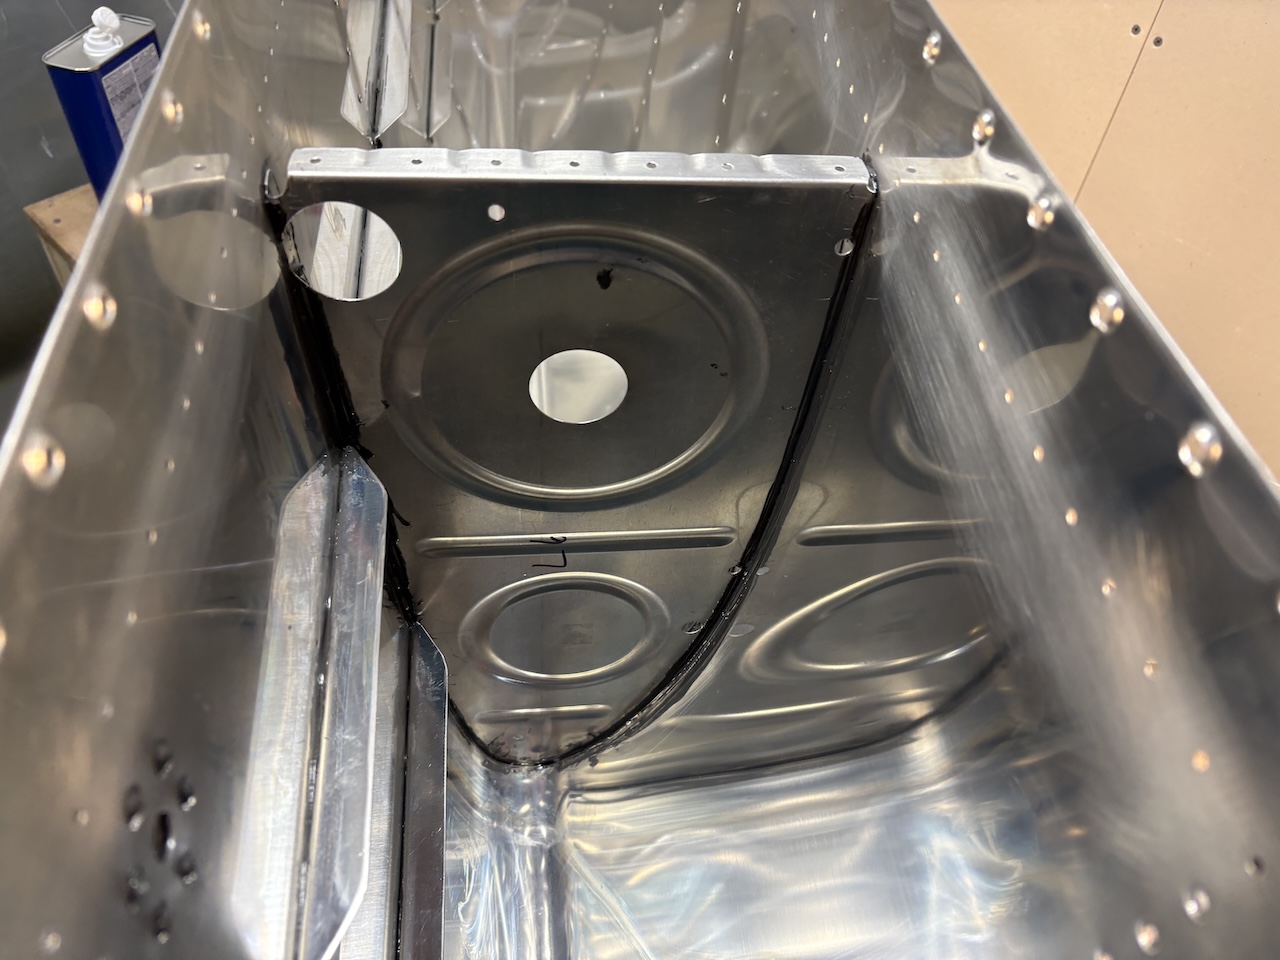
The outboard side:
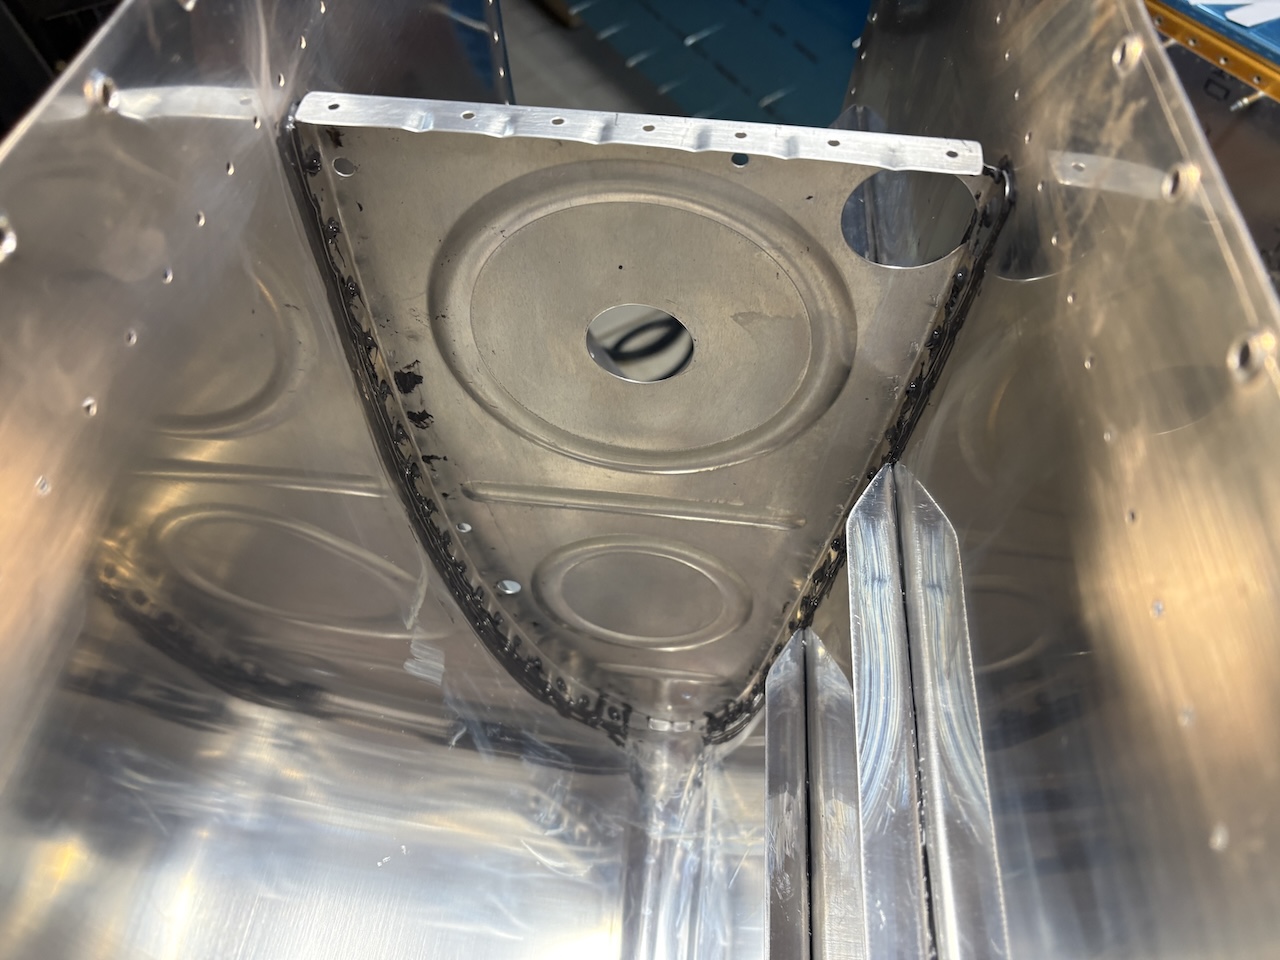
And the top side rivet heads:
I'm very pleased with how this rib and rivets turned out. The rivet heads are very smooth and look to have good sealant around them. Nothing left but to do the other 9 interior ribs. I might be able to work a bit faster but also don't want to rush it so we will see how it goes!